Next.js on AWS with SST
SST를 사용하여 AWS에 Next.js 앱을 생성하고 배포합니다.
SST와 함께 AWS에 Next.js 배포하기
SST를 사용해 Next.js 앱을 AWS에 배포하는 방법은 두 가지입니다.
아래에서 두 가지 방법을 모두 사용해 간단한 앱을 만들어 보겠습니다.
예제
여러분이 참고할 수 있는 다른 Next.js 예제도 몇 가지 있습니다.
- Next.js 앱에 기본 인증 추가하기
- Next.js 앱에서 스트리밍 활성화하기
- Next.js CDN에 추가 라우트 추가하기
- 컨테이너에서 Redis와 Next.js를 사용한 조회수 카운터
Serverless
Next.js 앱을 만들고, 파일 업로드를 위한 S3 버킷을 추가한 다음, OpenNext와 Nextjs 컴포넌트를 사용해 배포할 예정입니다.
시작하기 전에 AWS 자격 증명을 설정했는지 확인하세요.
1. 프로젝트 생성
앱을 만들어 보겠습니다.
npx create-next-app@latest aws-nextjscd aws-nextjs모든 기본 옵션을 선택합니다.
SST 초기화
이제 앱에서 SST를 초기화해 보겠습니다.
npx sst@latest init기본값을 선택하고 AWS를 선택합니다. 이렇게 하면 프로젝트 루트에 sst.config.ts 파일이 생성됩니다.
개발 모드 시작
다음 명령어를 실행하여 개발 모드를 시작합니다. 이 명령어는 SST와 Next.js 앱을 실행합니다.
npx sst dev실행이 완료되면 사이드바에서 MyWeb을 클릭하고 브라우저에서 Next.js 앱을 열어보세요.
2. S3 버킷 추가하기
파일 업로드를 위해 S3 버킷에 공개 access를 허용해 보겠습니다. sst.config.ts 파일을 업데이트하세요.
const bucket = new sst.aws.Bucket("MyBucket", { access: "public"});이 코드를 Nextjs 컴포넌트 위에 추가하세요.
버킷 연결하기
이제 버킷을 Next.js 앱에 연결합니다.
new sst.aws.Nextjs("MyWeb", { link: [bucket]});3. 업로드 폼 만들기
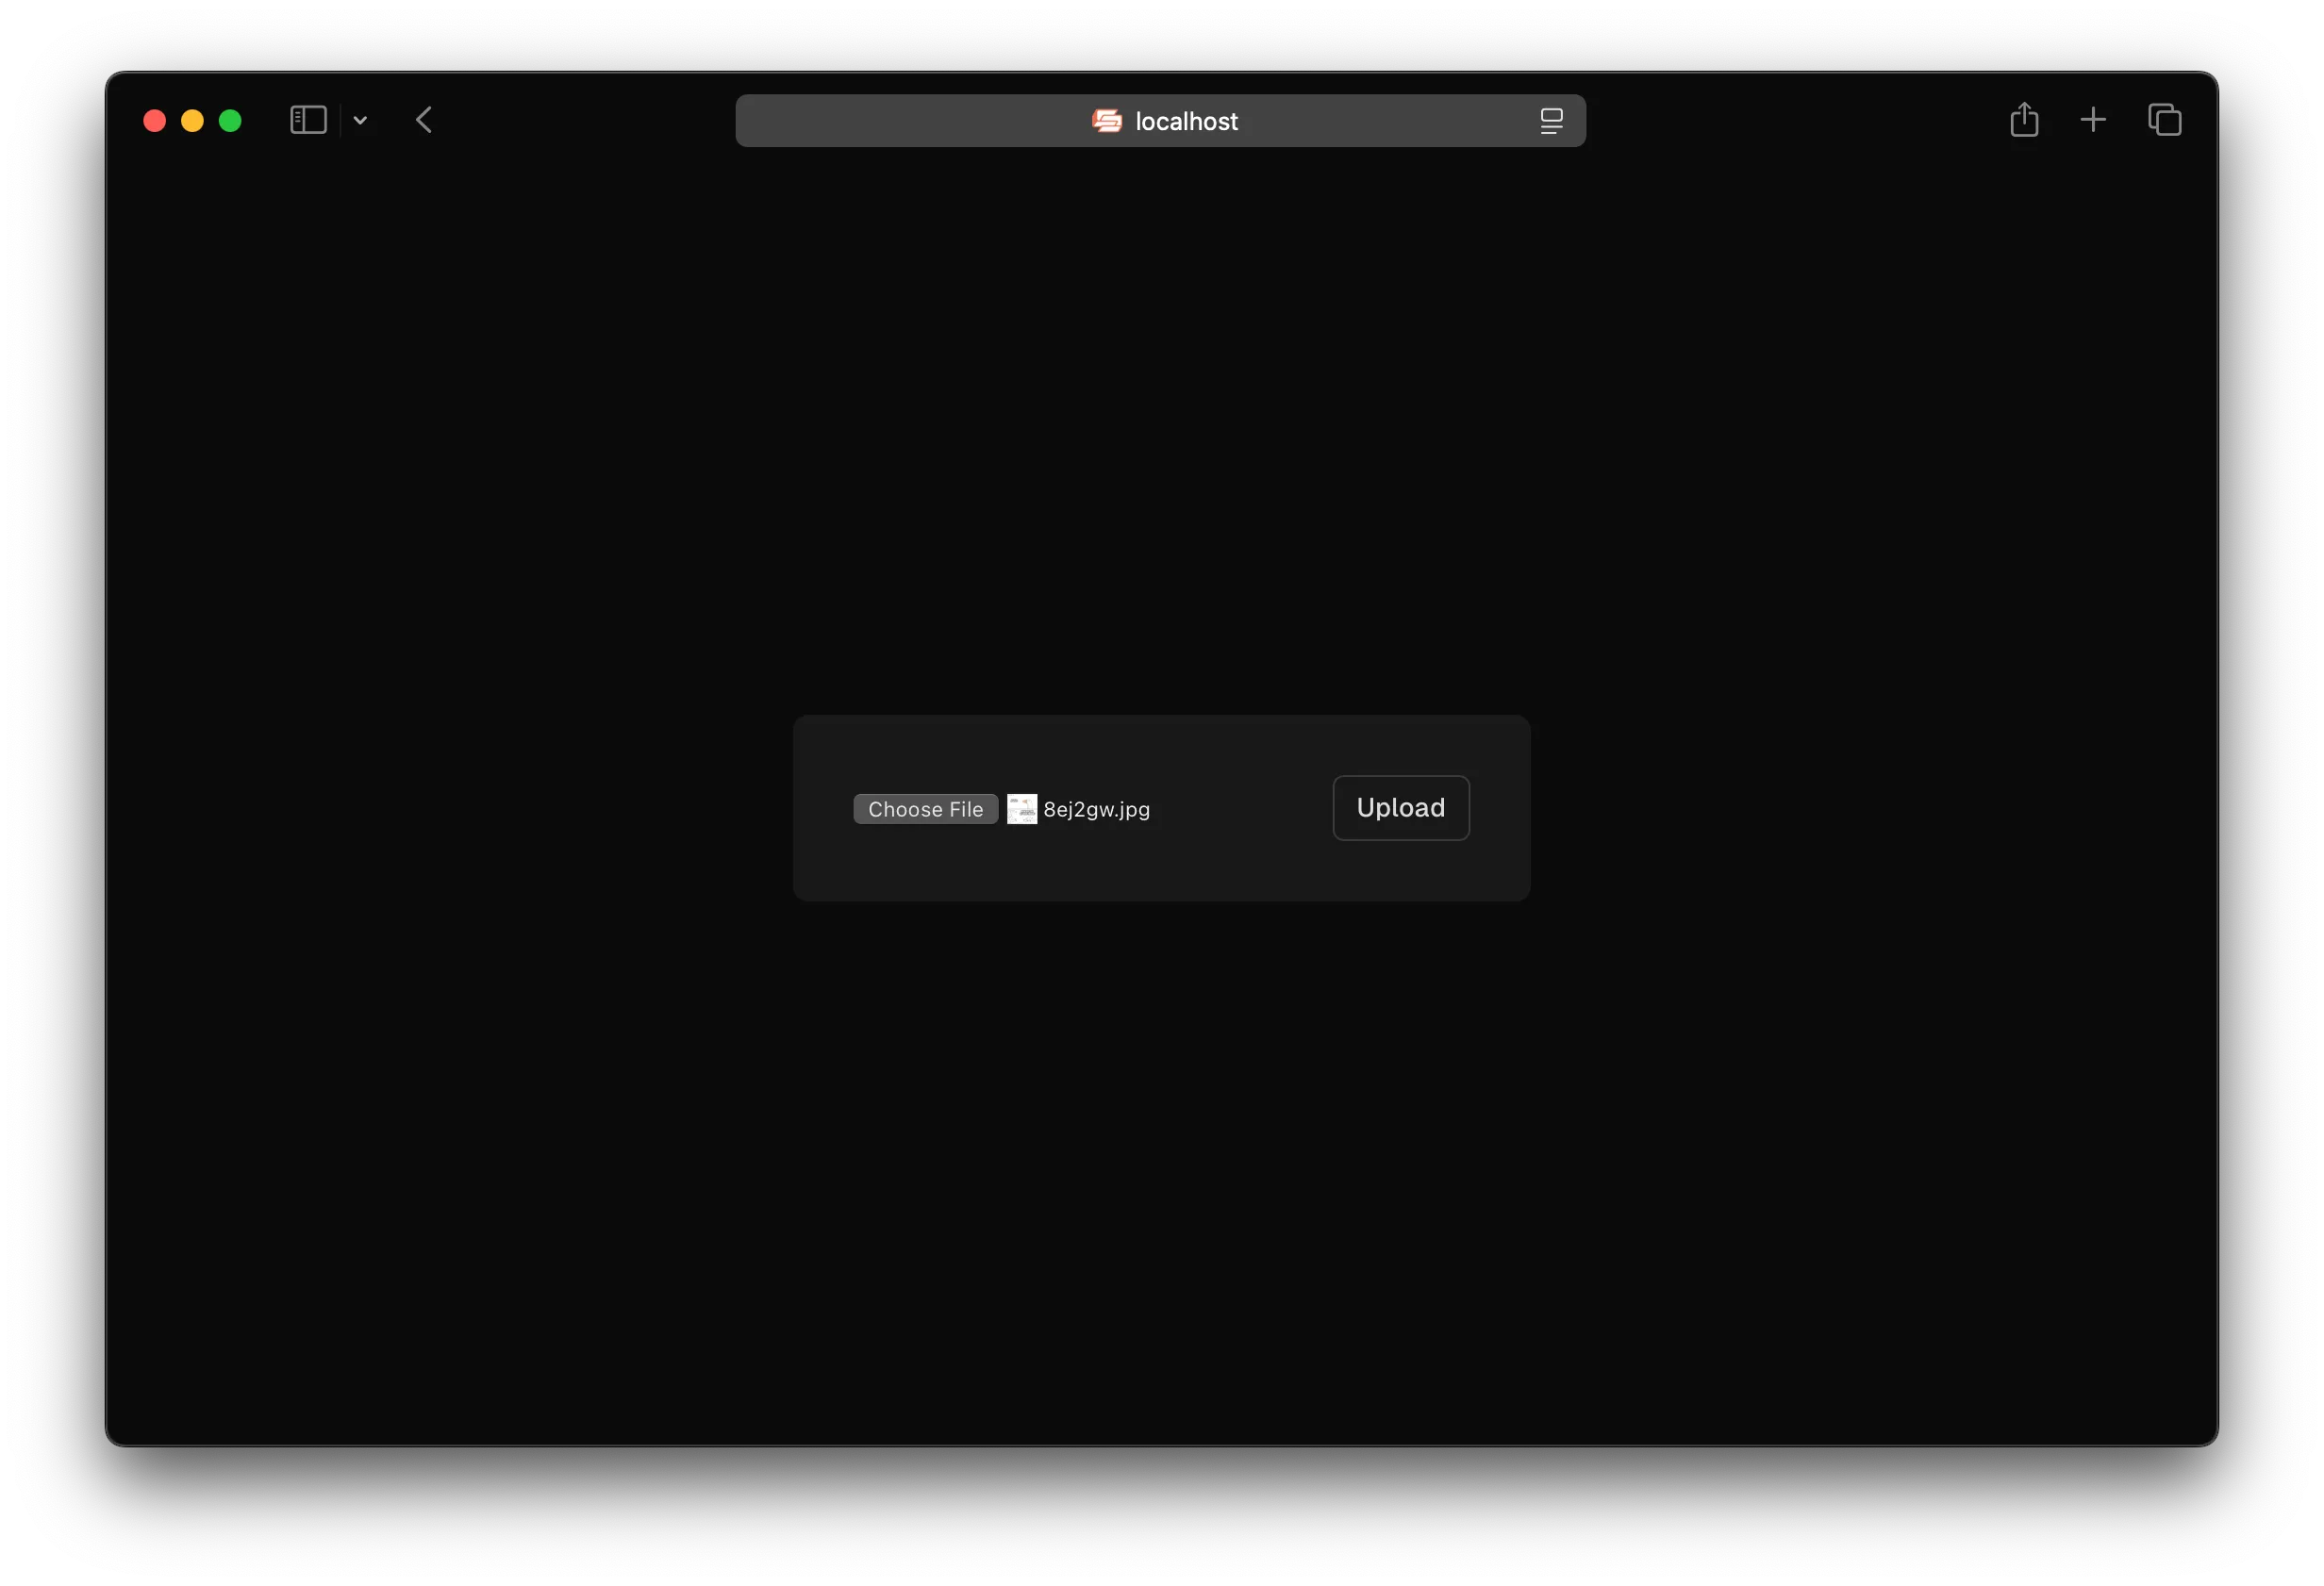
components/form.tsx에 폼 클라이언트 컴포넌트를 추가합니다.
"use client";
import styles from "./form.module.css";
export default function Form({ url }: { url: string }) {  return (    <form      className={styles.form}      onSubmit={async (e) => {        e.preventDefault();
        const file = (e.target as HTMLFormElement).file.files?.[0] ?? null;
        const image = await fetch(url, {          body: file,          method: "PUT",          headers: {            "Content-Type": file.type,            "Content-Disposition": `attachment; filename="${file.name}"`,          },        });
        window.location.href = image.url.split("?")[0];      }}    >      <input name="file" type="file" accept="image/png, image/jpeg" />      <button type="submit">Upload</button>    </form>  );}
스타일을 추가합니다.
.form {  padding: 2rem;  border-radius: 0.5rem;  background-color: var(--gray-alpha-100);}
.form input {  margin-right: 1rem;}
.form button {  appearance: none;  padding: 0.5rem 0.75rem;  font-weight: 500;  font-size: 0.875rem;  border-radius: 0.375rem;  background-color: transparent;  font-family: var(--font-geist-sans);  border: 1px solid var(--gray-alpha-200);}
.form button:active:enabled {  background-color: var(--gray-alpha-200);}
4. 미리 서명된 URL 생성하기
앱이 로드될 때 파일 업로드를 위한 미리 서명된 URL을 생성하고, 이를 포함한 폼을 렌더링합니다. app/page.tsx의 Home 컴포넌트를 아래 코드로 교체하세요.
export const dynamic = "force-dynamic";
export default async function Home() {  const command = new PutObjectCommand({    Key: crypto.randomUUID(),    Bucket: Resource.MyBucket.name,  });  const url = await getSignedUrl(new S3Client({}), command);
  return (    <div className={styles.page}>      <main className={styles.main}>        <Form url={url} />      </main>    </div>  );}
미리 서명된 URL이 캐시되지 않도록 하기 위해 force-dynamic을 사용합니다.
필요한 import를 추가하세요.
import { Resource } from "sst";import Form from "@/components/form";import { getSignedUrl } from "@aws-sdk/s3-request-presigner";import { S3Client, PutObjectCommand } from "@aws-sdk/client-s3";그리고 npm 패키지를 설치합니다.
npm install @aws-sdk/client-s3 @aws-sdk/s3-request-presigner앱 테스트하기
브라우저에서 로컬 Next.js 앱(http://localhost:3000)으로 이동한 후 이미지를 업로드해 보세요. 이미지가 업로드되고 다운로드되는 것을 확인할 수 있습니다.
5. 앱 배포하기
이제 여러분의 앱을 AWS에 배포해 보겠습니다.
npx sst deploy --stage production여기서는 어떤 스테이지 이름을 사용해도 되지만, 프로덕션을 위해 새로운 스테이지를 만드는 것이 좋습니다.
축하합니다! 이제 여러분의 앱이 라이브 상태가 되었습니다!
컨테이너
Next.js 앱을 만들고, 파일 업로드를 위한 S3 버킷을 추가한 후, Cluster 컴포넌트를 사용해 컨테이너에 배포할 예정입니다.
시작하기 전에 AWS 자격 증명을 설정해야 합니다.
1. 프로젝트 생성하기
앱을 만들어 보겠습니다.
npx create-next-app@latest aws-nextjs-containercd aws-nextjs-container모든 기본 옵션을 선택합니다.
SST 초기화
이제 앱에서 SST를 초기화해 보겠습니다.
npx sst@latest init기본값을 선택하고 AWS를 선택합니다. 이렇게 하면 프로젝트 루트에 sst.config.ts 파일이 생성됩니다.
2. 서비스 추가하기
Next.js 앱을 컨테이너로 배포하기 위해 AWS Fargate와 Amazon ECS를 사용합니다. sst.config.ts 파일의 run 함수를 아래 코드로 교체하세요.
async run() {  const vpc = new sst.aws.Vpc("MyVpc");  const cluster = new sst.aws.Cluster("MyCluster", { vpc });
  cluster.addService("MyService", {    loadBalancer: {      ports: [{ listen: "80/http", forward: "3000/http" }],    },    dev: {      command: "npm run dev",    },  });}
이 코드는 VPC와 Fargate 서비스가 포함된 ECS 클러스터를 생성합니다.
dev.command는 SST에게 Next.js 앱을 로컬에서 개발 모드로 실행하도록 지시합니다.
개발 모드 시작
다음 명령어를 실행하여 개발 모드를 시작합니다. 이 명령어는 SST와 Next.js 앱을 실행합니다.
npx sst dev실행이 완료되면 사이드바에서 MyService를 클릭하고 브라우저에서 Next.js 앱을 열어보세요.
3. S3 버킷 추가하기
파일 업로드를 위해 S3 버킷에 공개 access를 허용해 보겠습니다. sst.config.ts 파일을 업데이트하세요.
const bucket = new sst.aws.Bucket("MyBucket", { access: "public"});이 코드를 Vpc 컴포넌트 아래에 추가하세요.
bucket_mF9kDqjmTpfYyME9Hpm54u 연결하기
이제 버킷을 컨테이너에 연결합니다.
cluster.addService("MyService", { // ... link: [bucket],});이렇게 하면 Next.js 앱에서 버킷을 참조할 수 있습니다.
4. 업로드 폼 만들기
components/form.tsx에 폼 클라이언트 컴포넌트를 추가합니다.
"use client";
import styles from "./form.module.css";
export default function Form({ url }: { url: string }) {  return (    <form      className={styles.form}      onSubmit={async (e) => {        e.preventDefault();
        const file = (e.target as HTMLFormElement).file.files?.[0] ?? null;
        const image = await fetch(url, {          body: file,          method: "PUT",          headers: {            "Content-Type": file.type,            "Content-Disposition": `attachment; filename="${file.name}"`,          },        });
        window.location.href = image.url.split("?")[0];      }}    >      <input name="file" type="file" accept="image/png, image/jpeg" />      <button type="submit">Upload</button>    </form>  );}
스타일을 추가합니다.
.form {  padding: 2rem;  border-radius: 0.5rem;  background-color: var(--gray-alpha-100);}
.form input {  margin-right: 1rem;}
.form button {  appearance: none;  padding: 0.5rem 0.75rem;  font-weight: 500;  font-size: 0.875rem;  border-radius: 0.375rem;  background-color: transparent;  font-family: var(--font-geist-sans);  border: 1px solid var(--gray-alpha-200);}
.form button:active:enabled {  background-color: var(--gray-alpha-200);}
5. 사전 서명된 URL 생성하기
앱이 로드될 때 파일 업로드를 위한 사전 서명된 URL을 생성하고, 이를 포함한 폼을 렌더링합니다. app/page.tsx의 Home 컴포넌트를 아래 코드로 교체하세요.
export const dynamic = "force-dynamic";
export default async function Home() {  const command = new PutObjectCommand({    Key: crypto.randomUUID(),    Bucket: Resource.MyBucket.name,  });  const url = await getSignedUrl(new S3Client({}), command);
  return (    <div className={styles.page}>      <main className={styles.main}>        <Form url={url} />      </main>    </div>  );}
사전 서명된 URL을 캐싱하지 않기 위해 force-dynamic이 필요합니다.
필요한 import를 추가하세요.
import { Resource } from "sst";import Form from "@/components/form";import { getSignedUrl } from "@aws-sdk/s3-request-presigner";import { S3Client, PutObjectCommand } from "@aws-sdk/client-s3";그리고 npm 패키지를 설치하세요.
npm install @aws-sdk/client-s3 @aws-sdk/s3-request-presigner앱 테스트하기
브라우저에서 로컬 Next.js 앱(http://localhost:3000)으로 이동한 후 이미지를 업로드해 보세요. 이미지가 업로드되고 다운로드되는 것을 확인할 수 있습니다.
6. 앱 배포하기
프로덕션 환경을 위해 앱을 빌드하려면 Next.js의 standalone 출력을 활성화해야 합니다. next.config.mjs 파일을 업데이트해 보겠습니다.
const nextConfig: NextConfig = { /* 여기에 설정 옵션 추가 */ output: "standalone"};이제 앱을 배포하기 위해 Dockerfile을 추가합니다.
FROM node:lts-alpine AS base
# 1단계: 의존성 설치FROM base AS depsWORKDIR /appCOPY package.json package-lock.json* ./COPY sst-env.d.ts* ./RUN npm ci
# 2단계: 애플리케이션 빌드FROM base AS builderWORKDIR /appCOPY --from=deps /app/node_modules ./node_modulesCOPY . .
# 정적 페이지에 연결된 리소스가 필요한 경우# ARG SST_RESOUCE_MyResource
RUN npm run build
# 3단계: 프로덕션 서버FROM base AS runnerWORKDIR /appENV NODE_ENV=productionCOPY --from=builder /app/.next/standalone ./COPY --from=builder /app/.next/static ./.next/static
EXPOSE 3000CMD ["node", "server.js"]
이렇게 하면 Next.js 앱이 Docker 이미지로 빌드됩니다.
Next.js 앱이 연결된 리소스가 필요한 정적 페이지를 빌드하는 경우, Dockerfile에서 이를 선언해야 합니다. 예를 들어, 위에서 연결된 MyBucket 컴포넌트가 필요한 경우 다음과 같이 작성합니다.
ARG SST_RESOURCE_MyBucket각 연결된 리소스에 대해 이 작업을 수행해야 합니다.
또한 루트 디렉토리에 .dockerignore 파일을 추가합니다.
.git.nextnode_modules이제 Docker 이미지를 빌드하고 배포하려면 다음 명령어를 실행합니다.
npx sst deploy --stage production여기서는 어떤 스테이지 이름을 사용해도 되지만, 프로덕션을 위해 새로운 스테이지를 만드는 것이 좋습니다.
축하합니다! 이제 앱이 라이브 상태가 되었습니다!
콘솔 연결하기
다음 단계로 SST 콘솔을 설정하여 앱을 _git push로 배포_하고 로그를 확인할 수 있습니다.

무료 계정을 생성하고 AWS 계정에 연결할 수 있습니다.